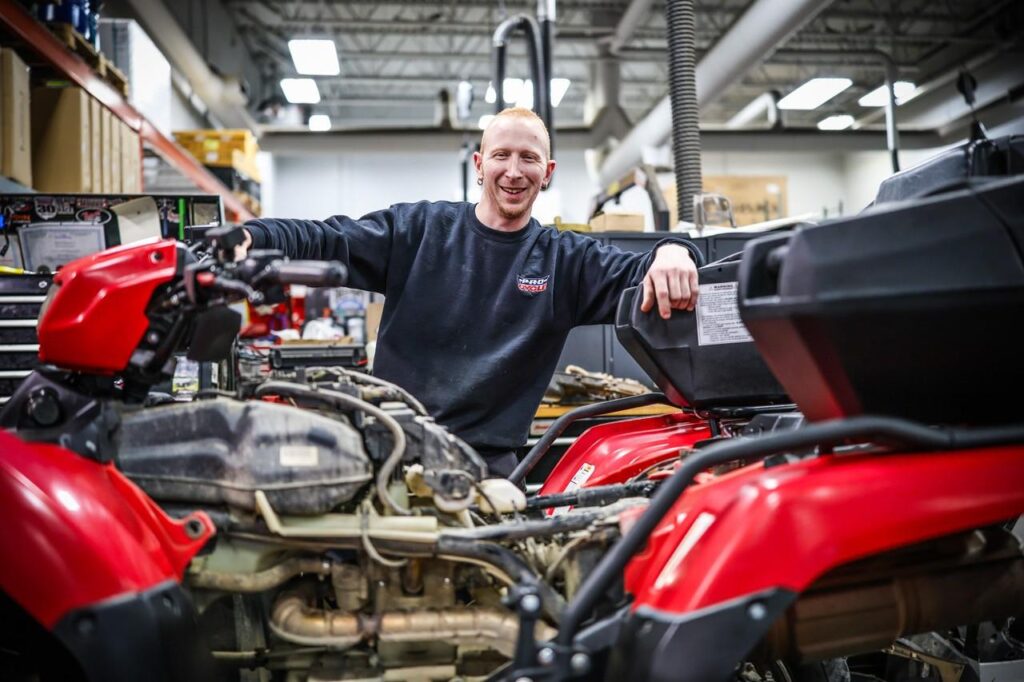
ATVs are built to work in places where ordinary vehicles struggle—mud, dust, water, rocks, steep trails, farms and rough backcountry terrain. That durability can create the impression that a four-wheeler can simply be ridden, parked and ridden again. In reality, some of the hardest conditions for an ATV are also the hardest conditions for its engine, air intake, cooling system, brakes, drivetrain and suspension.
A good ATV maintenance routine doesn’t have to mean rebuilding your machine every few months. The biggest gains usually come from doing the simple jobs consistently: checking fluids, keeping dirt out of the engine, maintaining correct tire pressure, watching brake wear, cleaning mud from the radiator and inspecting the machine before small problems become expensive ones.
Manufacturer maintenance schedules reinforce this approach. Polaris, for example, includes engine oil and filter service, air-filter inspection or replacement, brake-pad inspection, cooling-system checks, drive-belt inspection, battery maintenance and lubrication among its recurring service items. Importantly, it also recommends shorter service intervals for machines subjected to severe use, including frequent mud, water or sand exposure.
So whether you ride a Polaris Sportsman, Can-Am Outlander, Honda FourTrax, Yamaha Grizzly, Kawasaki Brute Force, CFMOTO or another ATV, these maintenance habits can help keep your machine dependable for the next trail rather than waiting in the garage for repairs.

There isn’t one universal maintenance interval that applies perfectly to every ATV.
A 450cc utility ATV used occasionally on dry trails isn’t experiencing the same conditions as a 1000cc machine regularly buried in mud. Engine design, transmission type, operating conditions and manufacturer specifications all affect when fluids, filters and other components should be serviced.
Use the owner’s manual as your primary maintenance schedule.
Pay particular attention to:
Some manufacturers also specify an initial break-in service. A current Polaris schedule, for example, calls for engine-oil/filter service and several inspections during the initial break-in period, followed by recurring maintenance based on hours, mileage and time.
Maintenance tip: Don’t use a generic internet schedule to override the maintenance requirements for your exact year and model.
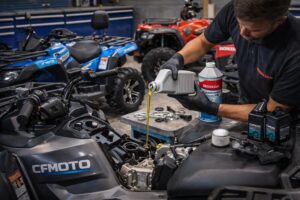
Engine oil has a difficult job inside an ATV. It lubricates moving components while dealing with heat, repeated acceleration, heavy loads and long periods of low-speed operation.
Get into the habit of checking the oil level regularly and looking underneath the ATV for leaks.
When it’s time for an oil change, use the viscosity and specification required by the manufacturer rather than assuming ordinary automotive oil is appropriate.
A typical oil service involves replacing the oil filter along with the oil, inspecting the old oil for unusual contamination and confirming the correct level afterward.
Manufacturer schedules vary considerably. Polaris documentation, for example, lists oil and filter changes alongside annual/hour/mileage-based service intervals on applicable machines.
Watch for:
Low oil level: could indicate leakage or oil consumption.
Milky oil: may suggest water contamination.
Metallic debris: potentially indicates abnormal internal wear.
Oil smell or leakage around the engine: deserves investigation rather than simply topping up the level.
If you frequently ride through deep water or extreme mud, inspect your fluids more aggressively.
This is one of the most important ATV maintenance habits—and one of the easiest to neglect.
Every breath your engine takes passes through its intake system. On dusty trails, the filter may be dealing with an enormous amount of airborne dirt.
A clogged filter restricts airflow.
A damaged, incorrectly fitted or poorly sealed filter can be worse because abrasive dirt may reach the engine.
Remove the filter periodically and inspect it carefully.
Depending on the filter type, it may be washable and reusable or designed for replacement. Foam filters generally require the correct cleaning and re-oiling procedure, while paper elements are normally serviced according to manufacturer instructions.
Don’t stop at the filter itself. Inspect the airbox, intake ducts, filter sealing surface and drain.
Older off-road maintenance guidance and current manufacturer schedules agree on the basic principle: air-filter cleanliness is critical in dirty environments, and inspection frequency needs to reflect operating conditions.
It’s worth checking the filter even if the normal service interval hasn’t arrived.
Your ATV doesn’t know how many calendar days have passed. It knows how much dirt it swallowed.
An ATV can have the correct coolant level and still overheat if airflow through its radiator is blocked.
Mud is particularly troublesome because wet mud can pack into radiator fins and then dry into a hard layer.
Check:
Polaris maintenance guidance includes inspecting coolant levels and leaks, seasonally checking coolant strength and periodically inspecting the overall cooling system.
Never open a pressurized cooling system while the engine is hot.
If the temperature warning repeatedly appears, don’t simply continue riding and assume the fan will handle it. Stop and determine why the engine is running hot.
ATV tires operate at relatively low pressures, so what looks like a tiny pressure difference can noticeably change handling.
Use a low-pressure tire gauge rather than judging pressure by squeezing the tire or looking at it.
Progressive’s ATV maintenance checklist similarly recommends inspecting tires for cracks and tread wear and checking pressure before riding against the manufacturer’s recommended specification.
Inspect each tire for:
Cuts and cracking – especially around the sidewalls.
Embedded objects – nails and sharp trail debris can produce slow leaks.
Uneven wear – potentially pointing toward alignment or suspension issues.
Damaged wheels – impacts with rocks can bend rims.
Incorrect pressure – can alter steering, traction and stability.
Don’t automatically copy the pressure your friend uses. Follow the specification for your machine and adjust only where the manufacturer permits it.
ATV brakes work in dirt, water and mud—conditions that aren’t particularly friendly to friction components.
Before riding, apply the brake controls and pay attention to how they feel.
A lever that suddenly travels farther than normal, feels unusually soft or produces poor braking deserves attention.
Inspect:
Progressive recommends paying attention to weak, spongy or noisy brakes, while manufacturer inspection sheets include pad material, brake lines and brake-fluid condition among regular ATV checks.
Brake fluid also doesn’t last forever. For example, Polaris storage/service guidance specifies changing brake fluid every two years on applicable models and when it becomes dark or contaminated. Your ATV’s manual remains the authority for your particular machine.
Engine oil receives most of the attention, but an ATV may have several other lubricants protecting expensive components.
Depending on the drivetrain, these can include:
Look for leaks around seals, drain plugs and gearcases.
Water contamination is particularly important after deep-water riding. If water gets where lubricant belongs, continuing to ride can turn an inexpensive fluid change into a costly drivetrain repair.
Current Polaris maintenance schedules specifically include transmission and gearcase fluid checks or changes at defined intervals.
Many automatic ATVs use a continuously variable transmission (CVT).
Its drive belt is a wear component.
As it deteriorates, you might notice sluggish acceleration, inconsistent engagement, slipping, unusual smells or reduced performance.
Inspect the belt according to the manufacturer’s procedure for:
Also keep the CVT intake and ventilation system clean.
Manufacturer maintenance schedules routinely include drive-belt inspection and replacement when necessary.
If your ATV uses a chain instead, inspect chain tension, lubrication and sprocket condition rather than applying CVT advice.
Suspension problems don’t always announce themselves with a warning light.
Lift or unload the appropriate section of the ATV when safe to do so and inspect for looseness, damage or abnormal movement.
Important areas include:
Ball joints
Tie-rod ends
Control-arm bushings
Wheel bearings
Shock absorbers
CV boots
Steering components
Polaris’ inspection checklist specifically includes shocks, suspension bushings, tie rods, ball joints, steering components, driveshaft boots and U-joints among areas worth inspecting.
A torn CV boot is a good example of why inspection pays. Replacing a damaged boot early can be much cheaper than ignoring it until contamination destroys the joint.
ATVs experience vibration, water, temperature changes and long periods of storage—all of which can be hard on batteries and electrical connections.
Periodically check that battery terminals are clean, tight and free from excessive corrosion. That’s also explicitly included in manufacturer maintenance schedules.
Inspect wiring near:
Poorly installed accessories can create electrical problems that are surprisingly difficult to diagnose later.
If the ATV will sit unused for an extended period, follow the manufacturer’s battery-storage recommendations. Polaris, for example, recommends removing the battery for storage of three months or more on applicable ATVs, fully charging it and keeping it in a cool, dry location.
Cleaning isn’t just cosmetic.
Removing mud lets you inspect components that would otherwise remain hidden, and it prevents packed dirt from sitting around the radiator, suspension and chassis.
But aggressive pressure washing can create another problem: forcing water into bearings, seals and electrical components.
Polaris specifically warns against directing high-pressure water at components including wheel bearings, radiator areas, transmission seals, electrical parts, switches and fuel-system components.
A better post-ride routine is:
A clean ATV also makes leaks, damaged boots, loose fasteners and cracked components much easier to spot.
ATVs vibrate.
Combine vibration with rocks, jumps, washboard trails and repeated suspension movement and fasteners can gradually loosen.
Pay particular attention around:
Don’t simply overtighten everything.
Some fasteners have specific torque requirements, and excessive torque can damage threads or components. Use the torque values in your service manual where specified.
Spark plugs can provide clues about how an engine is running.
A badly worn or fouled plug may contribute to:
Inspection and replacement intervals vary, so again, follow the owner’s manual. Spark-plug inspection appears among recurring manufacturer maintenance items.
If the plug repeatedly fouls shortly after replacement, investigate the underlying cause rather than continuing to install new plugs.
One of the best maintenance routines doesn’t require changing anything.
Walk around the ATV before leaving.
Progressive recommends starting ATV inspection with an overall visual check for problems such as leaks and loose components.
| Area | What you’re looking for |
|---|---|
| Engine oil | Correct level/leaks |
| Coolant | Correct level/leaks |
| Tires | Pressure, cuts and damage |
| Wheels | Damage or looseness |
| Brakes | Firm operation |
| Throttle | Smooth operation and return |
| Steering | Free movement/no excessive play |
| Lights | Proper operation |
| Fuel | Enough for the planned ride |
| Suspension | Leaks/damage |
| CV boots | Tears or leakage |
| Underneath ATV | Fresh fluids or damage |
Five minutes in the driveway is much easier than recovering a disabled ATV miles into the woods.
This is where a simple “service every X miles” approach can become misleading.
A machine ridden gently on clean, dry trails can reach a mileage interval in much better condition than an ATV that spent the same mileage crawling through deep mud.
Polaris explicitly classifies frequent immersion in mud, water or sand, sustained high RPM, heavy low-speed operation, extended idling and short cold-weather trips as severe-use conditions on applicable machines, recommending service at 50% of the stated interval.
That principle is worth remembering regardless of brand:
Maintenance should reflect how you ride, not only what the odometer says.
After extreme riding, give special attention to the air filter, radiator, brakes, CVT, fluids, wheel bearings, suspension and grease points.
Parking an ATV for several months without preparation isn’t maintenance.
It’s delayed maintenance.
Before seasonal storage, consider:
Polaris’ storage guidance similarly recommends completing necessary repairs, cleaning the vehicle, servicing oil and filters, checking fluids and preparing the battery and fuel system before extended storage.
There is no substitute for your model’s official maintenance schedule, but this makes a useful inspection routine:
| When | What to Check |
|---|---|
| Before every ride | Oil, tires, brakes, steering, throttle, coolant, leaks and lights |
| After muddy/wet rides | Radiator, air filter, brakes, CV boots, drivetrain and underbody |
| Regularly | Air filter, battery, suspension, wheel bearings and fasteners |
| At scheduled service | Engine oil/filter, drivetrain fluids, belt/chain, spark plug and lubrication |
| Seasonally | Coolant condition, battery, brakes, suspension and storage preparation |
| After severe use | Inspect sooner rather than waiting for the normal interval |
The actual hour, mileage and calendar intervals should always come from the owner’s manual because even models from the same manufacturer can have different requirements.
Some ATV owners don’t damage their machines by neglecting maintenance entirely—they damage them by maintaining them incorrectly.
Avoid overfilling engine oil, using the wrong fluid, assuming all ATVs require identical tire pressure, spraying high-pressure water directly into seals and bearings, installing a foam filter without properly treating it, ignoring small fluid leaks, riding repeatedly with an overheating warning, and postponing maintenance simply because the ATV still starts.
Another common mistake is replacing parts without investigating why they failed.
A repeatedly dead battery, continually fouled spark plug, constantly overheating engine or frequently damaged belt is telling you something.
Find the cause.
Usually, yes.
Consider the difference between catching:
a torn CV boot versus replacing an entire joint,
worn brake pads versus damaging rotors,
a dirty air filter versus allowing abrasive dirt into an engine,
low coolant versus overheating,
or a deteriorating drive belt versus having it fail far from your truck.
Preventive maintenance costs money, but neglected maintenance has a habit of costing considerably more.
It also protects something that’s harder to price: your riding time.
Keeping an ATV running like new isn’t about polishing every scratch or replacing components unnecessarily. It’s about knowing which systems need attention and catching deterioration early.
Start with the manufacturer’s maintenance schedule. Then adjust your inspection habits for how you actually use the machine.
If you remember only a handful of things, remember these: keep clean oil in the engine, clean air going into it, coolant flowing through it, proper pressure in the tires, healthy brakes underneath you and mud away from places where it doesn’t belong.
Do that consistently and your ATV has a much better chance of being ready when the trail opens instead of becoming another unfinished project sitting in the garage.
For an ATV article, I would use a genuine powersports/mechanic-style author photo rather than an AI-generated headshot. It makes the author section feel much more natural and avoids creating a fake “expert” identity.